Yooka-Laylee and the Impossible Lair
The impossible often has a kind of integrity to it which the merely improbable lacks.
When Playtonic Games dubbed the final level of this game “Impossible”, they weren’t kidding. Well, obviously they were to an extent—the game literally can be finished. But the step up in difficulty for this final challenge feels a bit like taking on Super Meat Boy’s hardest level after sauntering through a run of Kirby. Actually, I wouldn’t quite know since I haven’t finished Meat Boy yet; that must be even more impossible…
Yooka-Laylee and the Impossible Lair—which I will have to call Yooka-Laylee ATIL from now on—is the not-really-sequel to the more succinctly-titled Yooka-Laylee. That was an homage to the 3D platforming series Banjo-Kazooie, developed at Rare by many of the same people now responsible for the Yooka series under the Playtonic name. This spin-off is a 2D platformer, more akin to the Donkey Kong Country games, also developed by Rare. Clear? A GoldenEye tribute starring Yooka and Laylee must surely be on the horizon.
So, on paper, Yooka-Laylee ATIL is a fast-paced, 2D* platformer with mainly left-to-right levels, and a big boss level at the end. Collectibles, spiky hazards, secrets; all the typical stuff is here. This is very much like a Donkey Kong Country or New Super Mario Bros game in feel, style, and—thankfully—quality, too. But what really differentiates Yooka-Laylee ATIL is the wealth of gimmicks—or innovations, if I’m being kind—it brings to the table.
*2D (not 2.5D, forget that nonsense, this is two dee, there’s no such thing as half a dimension!)
Since Yooka-Laylee ATIL’s gimmicks are such a defining feature, I’m going to look at the most significant, gimmick-by-gimmick, rating each along the way.
Gimmick #1: the Impossible Lair
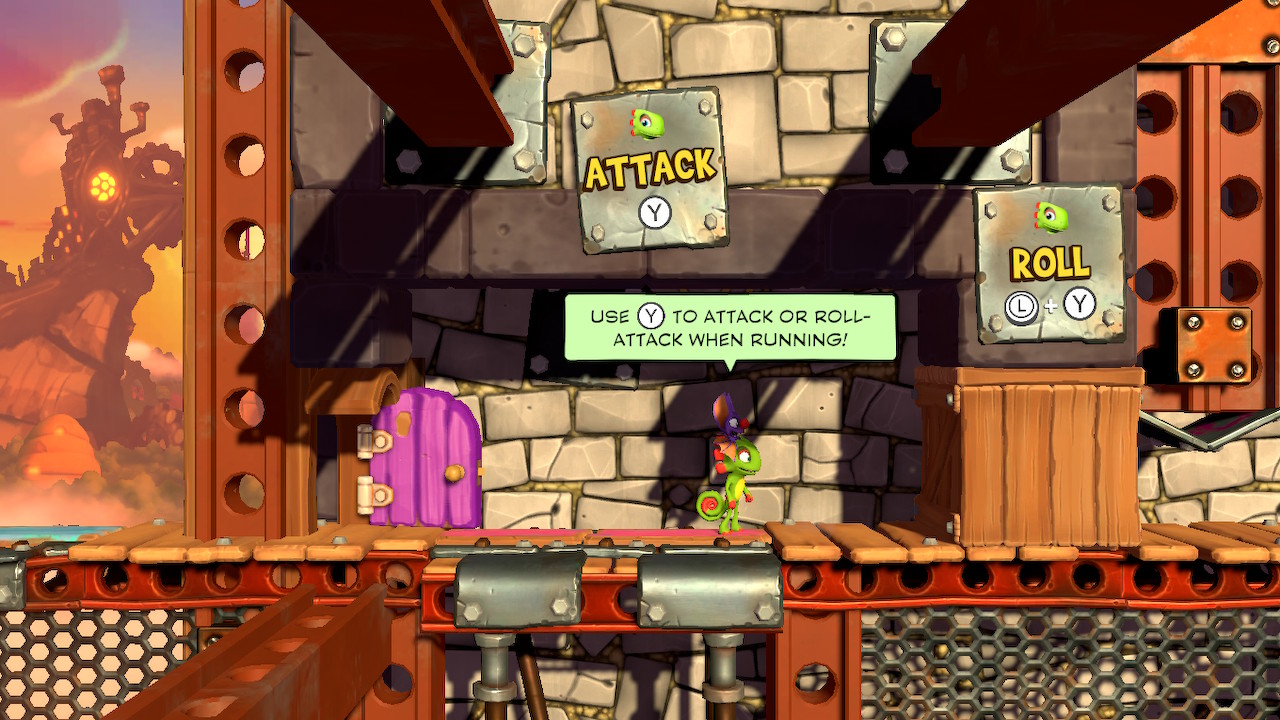
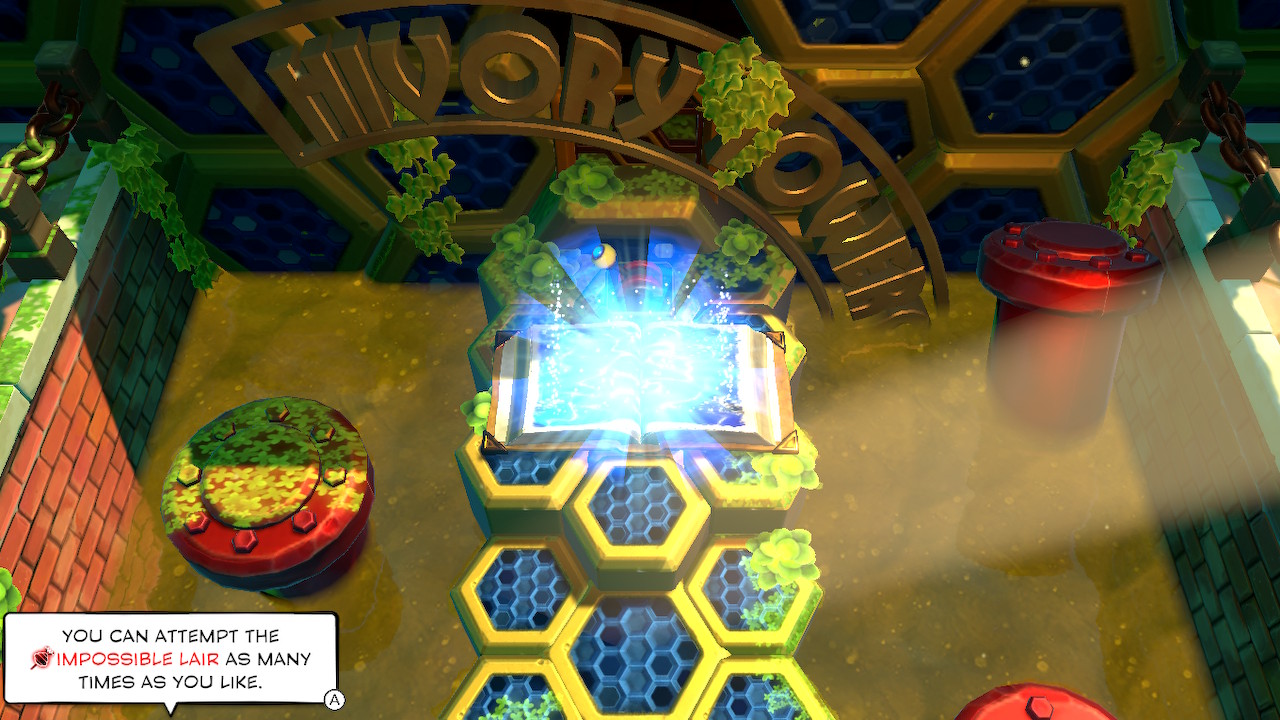
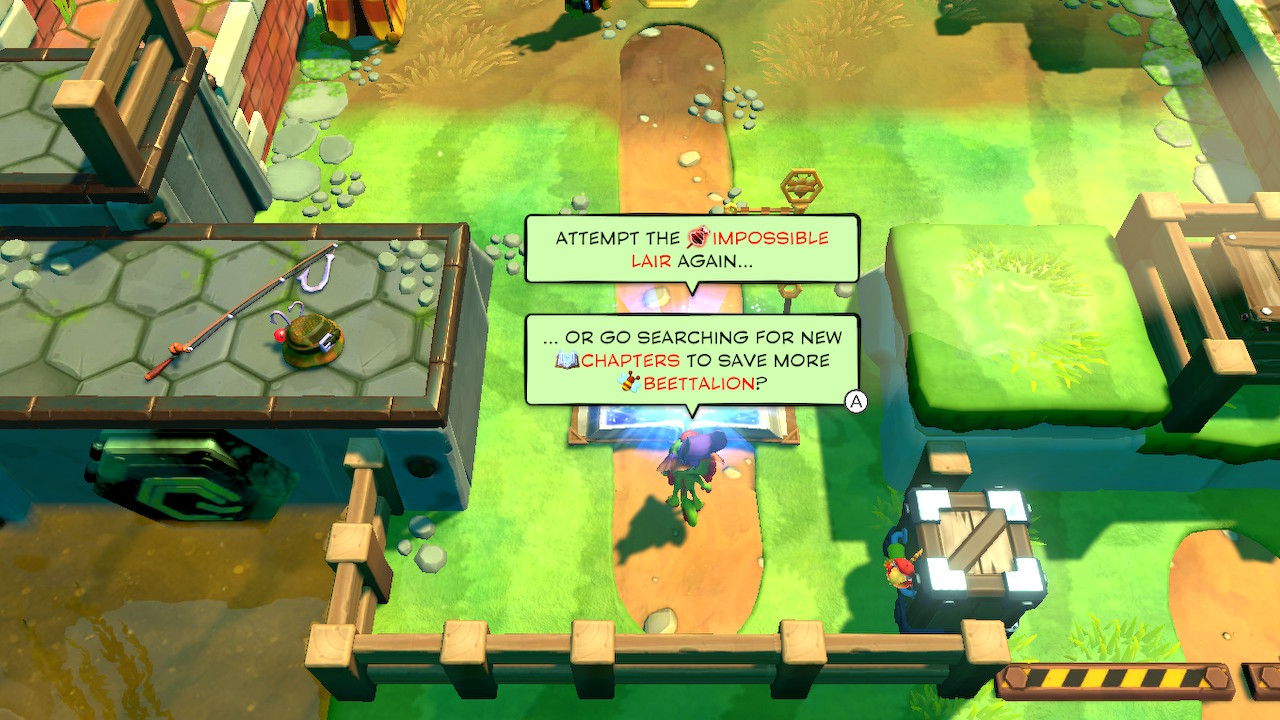
Right at the beginning, after a brief tutorial explaining how bees can help you, the game introduces the titular Lair, which is also the final level. However, it turns out that ‘final’, in this case, is in the eye of the beholder. See, you can tackle this final level at any point in the game, and finish up whenever you want—if you can beat it.
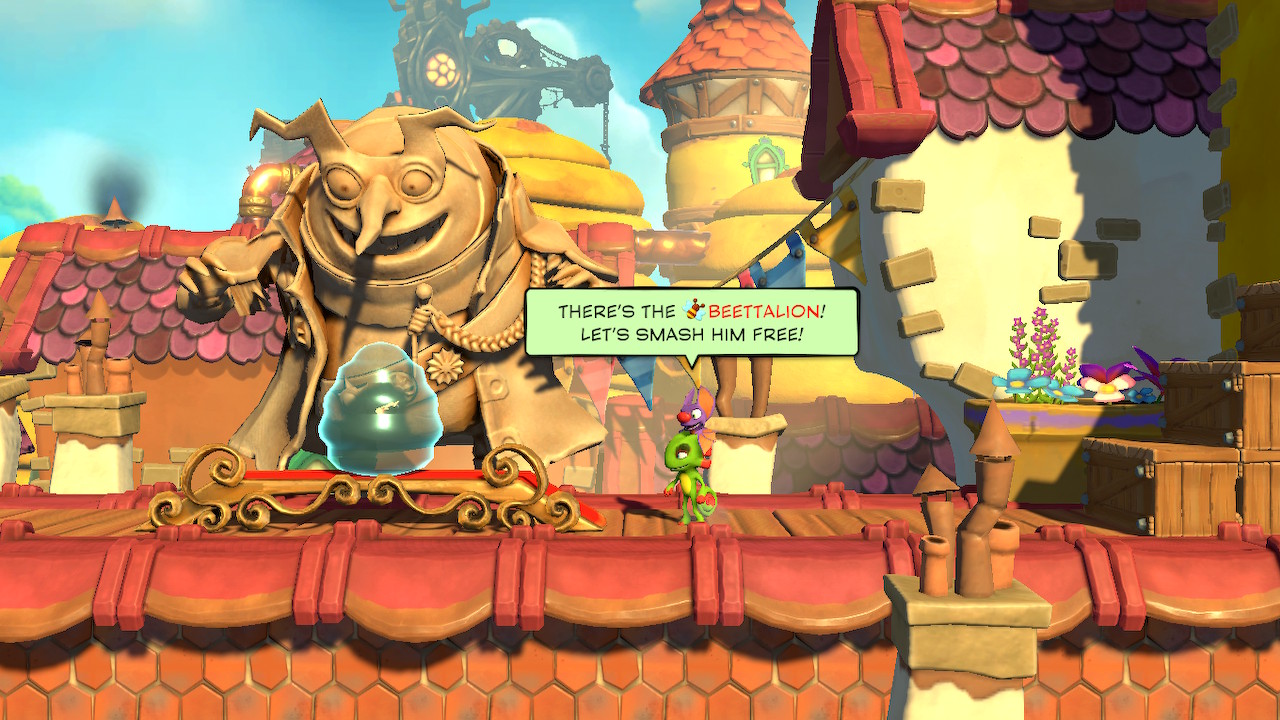
The reason not to jump straight in—apart from not wanting to waste your money ignoring 95% of the game, of course—is because the Impossible Lair is, unsurprisingly, very difficult. It’s so challenging that you’re expected to take many hits just trying to get through it, with the bees you collect in the game’s normal levels each providing you, in effect, with one health point. There are 48 bees available to collect in total, but even with that many passes, the Impossible Lair is still a mighty challenge.
It’s a bold move making this final level available at any point, and it’s not without side-effects that I’ll cover later on in this review. But it’s certainly a strong gimmick and, like many of the game’s other twists and turns, it helps to join up all the dots in a satisfying manner. The Impossible Lair is, notably, the only level in the game that features boss fights, which is a minor innovation in itself.
Just as the game encourages you to do, I’m going to leave the Impossible Lair at this point and return to it at the end. It’ll close things out nicely.
Gimmick success rating: ?/5
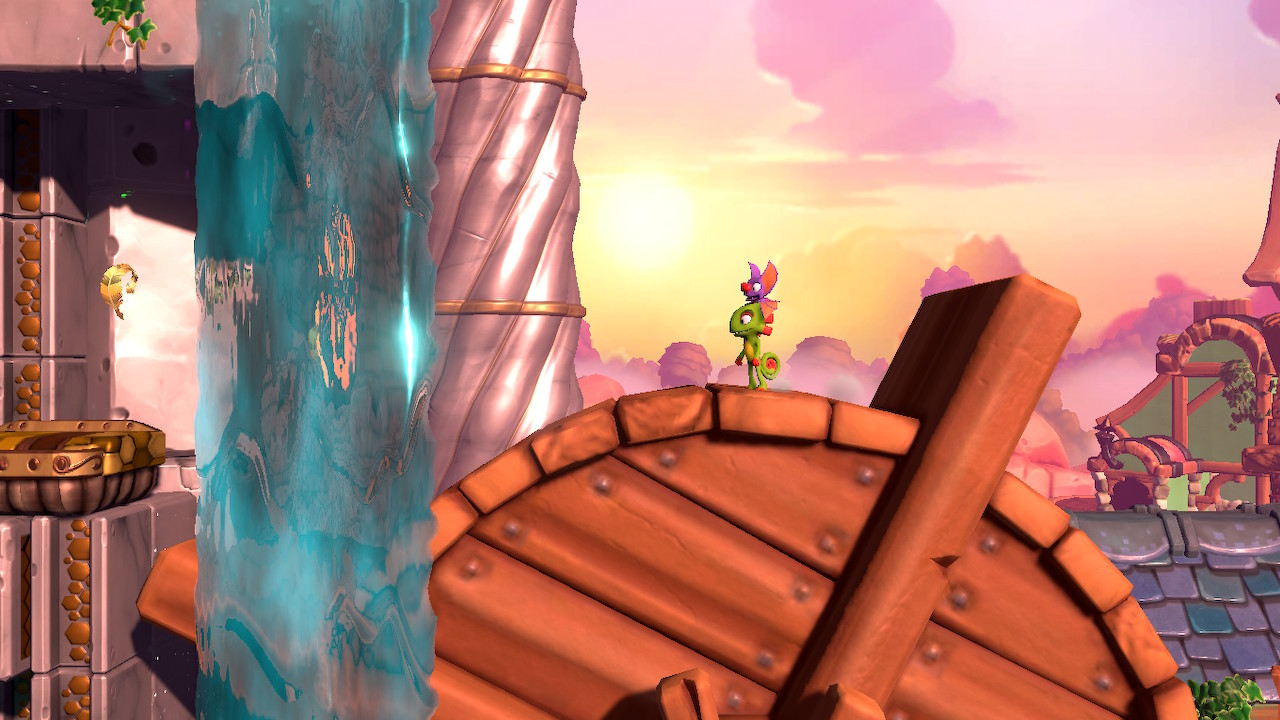
Gimmick #2: Laylee
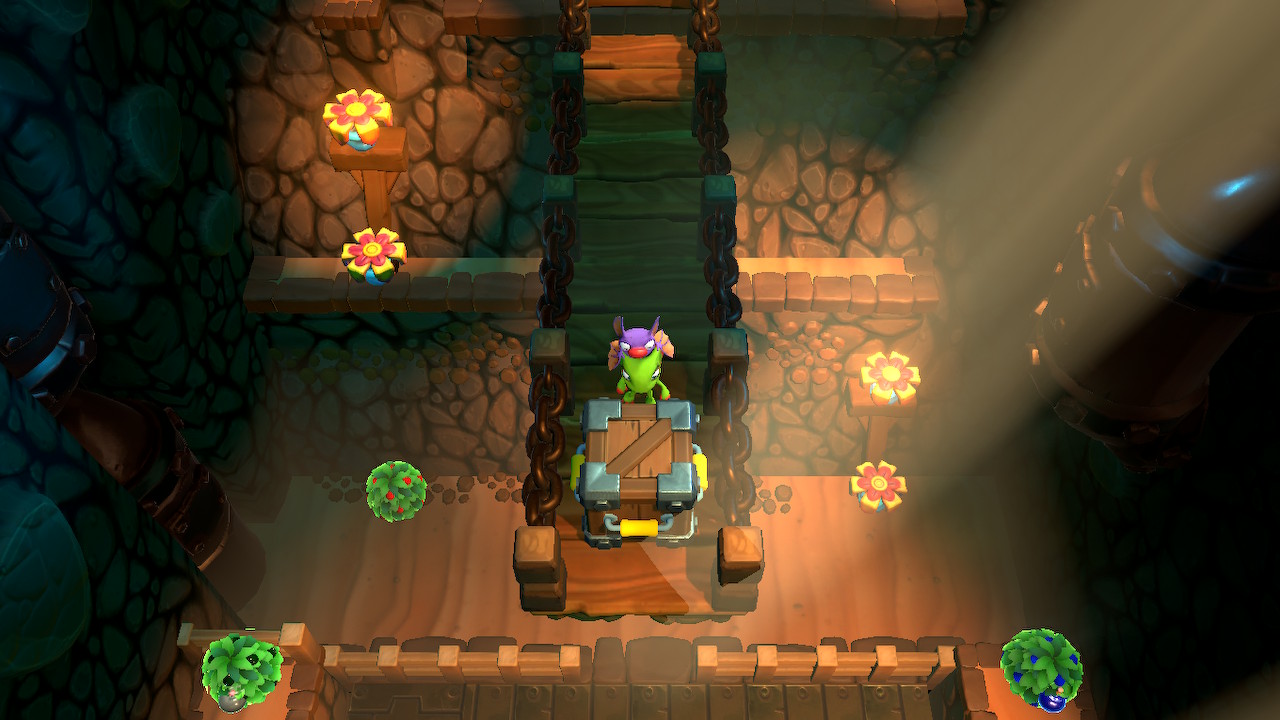
Laylee is a classic sidekick. While you directly control Yooka, a chameleon with a talent for rolling, Laylee is the female bat forever perched on your shoulders. She’s rarely the star of the show but, when called upon, Laylee will help you out of many a jam.
Laylee has two great powers. First up, she provides a safety net, absorbing one hit and allowing Yooka to carry on going. When you are hit, though, Laylee gets kinda spooked, flailing around mostly on the periphery of your reach. Catch Laylee, and it’s as if nothing happened. Lose Laylee, however, and you’re vulnerable to the next hit: Yooka just can’t take the heat without his partner.
It’s a great little mechanic, however frustrating trying to catch Laylee might be. I think even real-life bats are probably easier to catch than this. Thankfully, there are a number of bells—some in plain sight, some hidden—which will ‘restore’ Laylee to your side upon contact. I guess that, even though Laylee might get freaked out on occasion, her hearing can still do a job from afar. Having this backup means you’re encouraged to take risks and go a little faster than you otherwise might, and who can complain about that?
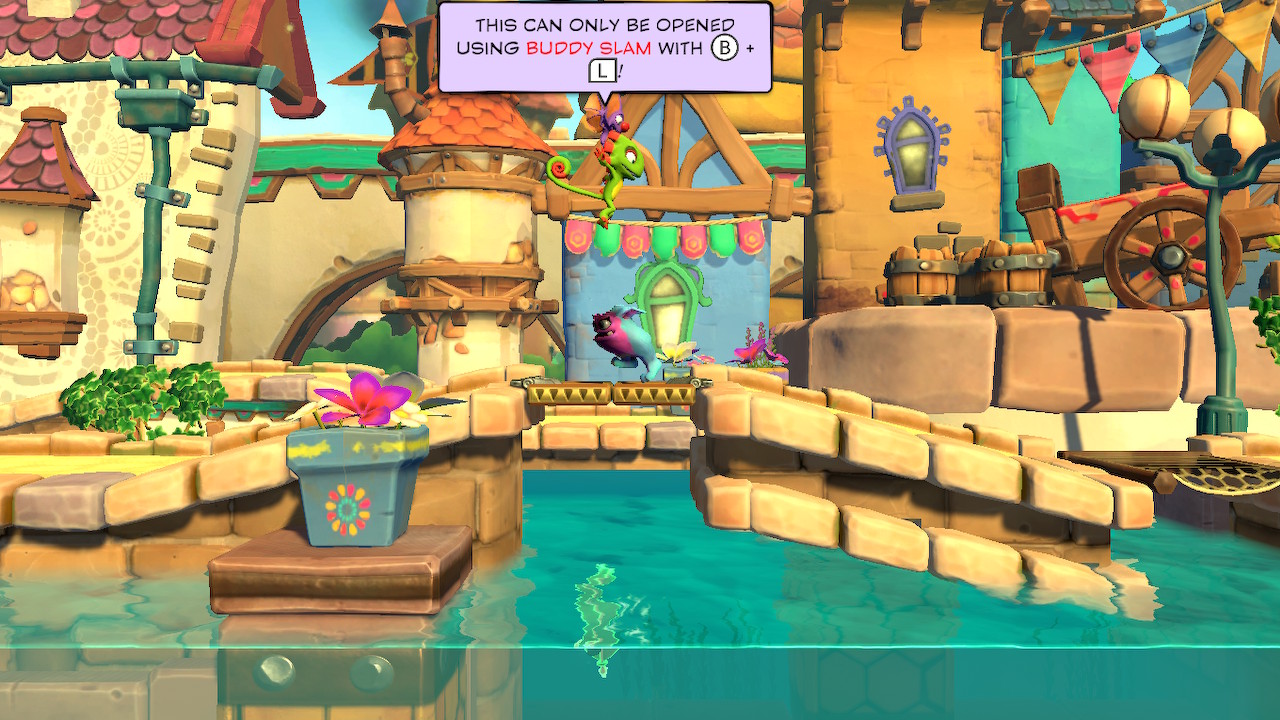
Laylee’s other great purpose is to add a couple of actions to your moveset, namely a Mario-esque twirl and a, er, Mario-esque ground-pound. As a result, losing Laylee restricts your movement a bit, so the levels all have to be designed for this possibility. Therefore, twirl and ground-pound are never really required, they just make things a lot easier, and open up access to a few secrets respectively. This kind of optional variety is something that Yooka-Laylee ATIL returns to time and time again, and it’s one of the major plus points of the game.
Both powers also help you obtain feathers, the game’s main in-level currency. They’re not always lying about, either: many are spawned by special feathers you interact with in a few different ways. Again, the variety adds a bit more interest beyond just the standard collectathon. Feathers are used to buy upgrades, another gimmick I’ll cover shortly.
Gimmick success rating: 4/5
Gimmick #3: coin challenges and paywalls
Like many games in this genre, each level in Yooka-Laylee ATIL contains a small number of collectibles lying off the beaten path. Here, these are big coins, hardly an original concept. The innovation comes in how they’re used, which is integral to how you’ll choose to play the game.
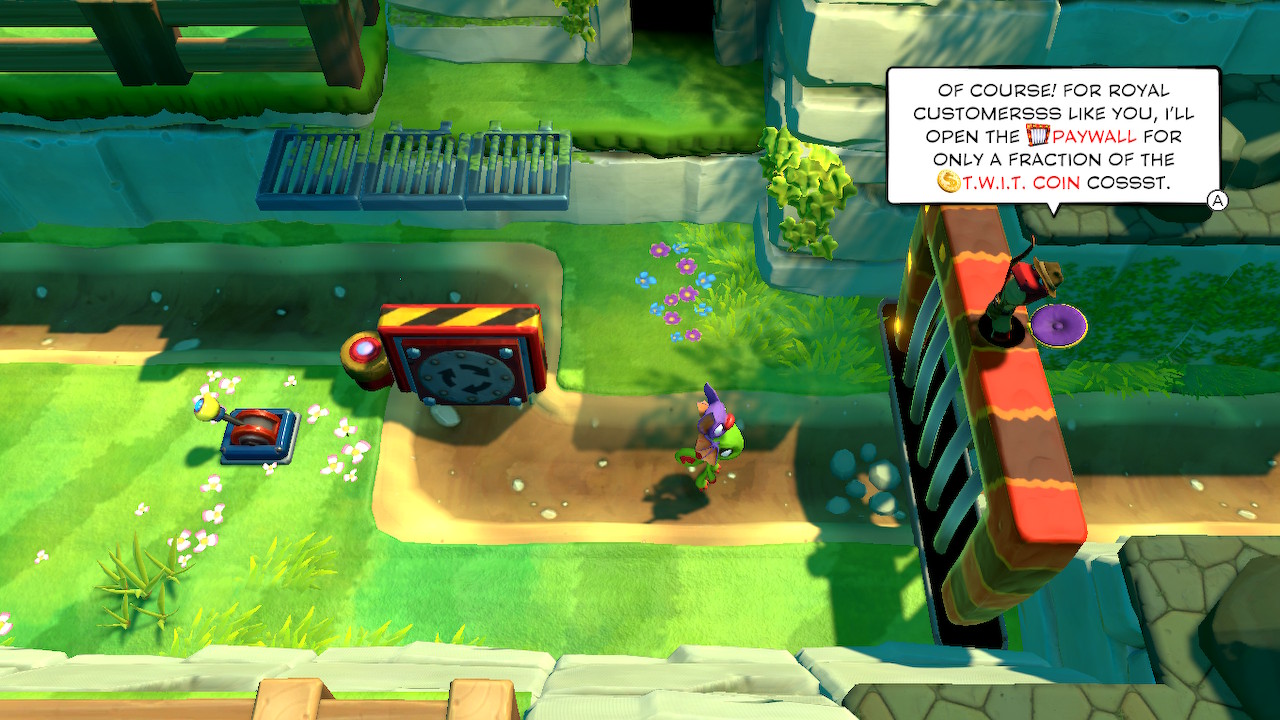
Levels are revealed in groups of three, in different areas of the map. But each area is, by default, inaccessible until you pay to lower a literal paywall—jokes! The number required gets progressively larger, but it’s always pitched at a decent level, a compromise between having to grind every last coin and being able to just rush through ignoring them.
This approach does offer flexibility, however. You can take on each level methodically, trying to get all five coins as you go, and progress in a strictly linear fashion. Or you can speed through, picking up coins wherever you happen upon them, only to backtrack later and replay earlier levels. The style you adopt is totally up to you; I guess most players will go for some kind of compromise, as I did myself.
Some may balk at the concept of backtracking, particularly when it’s enforced in order to make progress on the main path of the game. But fear not: Yooka-Laylee ATIL has some great ideas on how to mitigate the monotony of repitition.
Gimmick success rating: 4/5
Gimmick #4: an array of upgrades
Another type of collectible, tonics are available in the hub world (and more on this in a minute). These are upgrades you can switch in and out to modify your build, something we’re used to from other genres (Metroidvania, roguelikes) but less so in straight left-to-right platformers. Tonics have to be discovered and then bought using the feather currency.
There’s a large number of tonics, broken down into two types: functional and decorative. The functional type include things like an auto-feather-gatherer, longer invincibility when hit, and a triple-twirl. There’s even a series of penalty tonics which do things like reverse the controls or make enemies harder to kill. Both types make sense because they affect a feather multiplier which alters the total number of feathers you pick up during a level.
Visual effects from decorative tonics include various display ratios, colour changes, and even a heavy pixel filter.
The idea, presumably, is to make backtracking and replaying levels a bit less repetitive. It works, to an extent. The tonics are quite expensive, and you only get three slots for the most part. The feather-gatherer is just a permanent fixture for me, so there’s not a lot of wiggle room. And the visual effects, while a nice novelty, often change the look a bit too much, becoming something of a distraction. Some of these affect the characters themselves, amd are more appealing—I wish there were more of them.
In general, the tonics are a great little bonus, but few of them are useful enough to repay the effort required to obtain them.
Gimmick success rating: 3/5
Gimmick #5: the hub-world
OK, this is it, the one gimmick to bind them. Hub worlds can sometimes come across as a bit of an afterthought, particularly for indies or games on a smaller budget. Not in this case. Yooka-Laylee ATIL goes in hard on its hub world and, for me, the effort pays off gloriously. It’s a top-down, 3D, fixed-camera map, much like the hub-world in Super Mario 3D World but, er, 3D. As in: height really is a factor, you can reach different vertical levels, that third dimension is actually a thing.
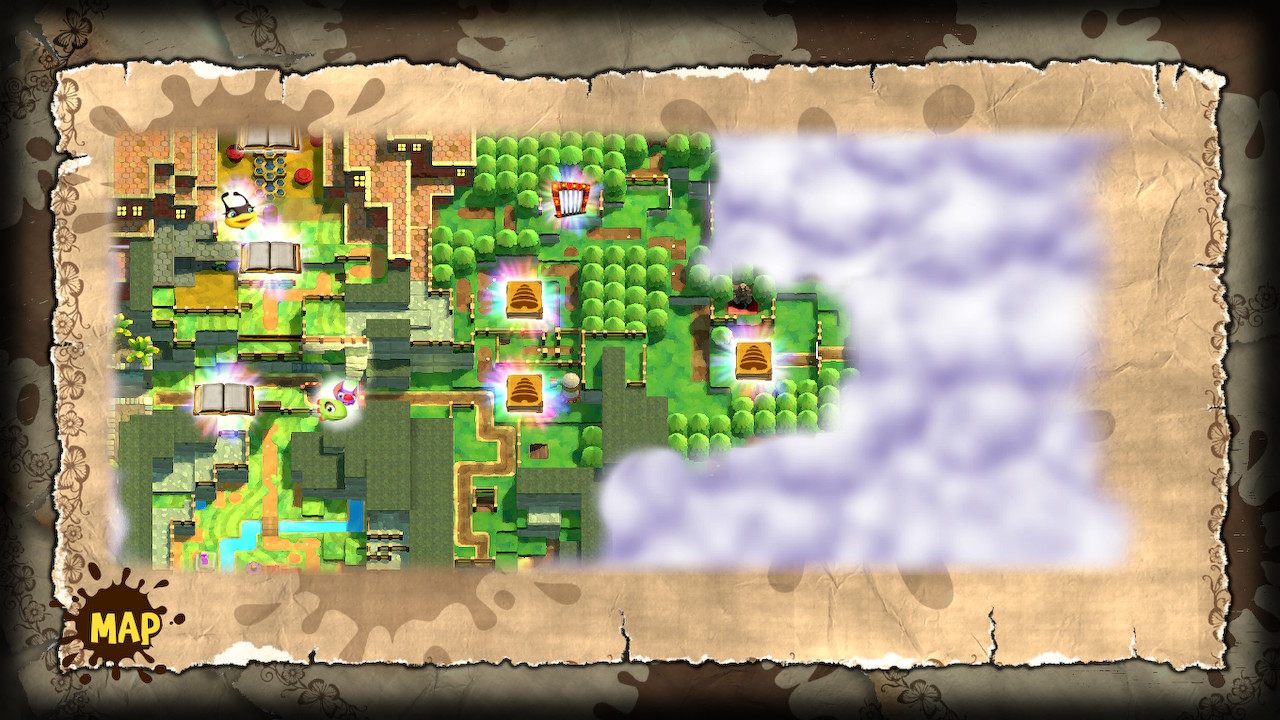
But, far more importantly, it contains puzzles and side-quests galore, and all those tonics I mentioned earlier. This map also unifies the levels, of course. It means it’s pretty big, but you can zip from level-to-level without having to walk manually—something I unfortunately didn’t discover until I’d played a good few hours and wasted a lot of time trudging around! Never mind, I didn’t once get sick of exploring this hub world, as it’s full of secrets and free feathers and all sorts of stuff.
Every now and again, you’ll encounter a cave or a tunnel leading to a mini-puzzle that reveals a bonus tonic or unlocks a level’s counterpart. Yes, each of the 20 levels has a second version, and these are implemented with a great big bundle of creativity. Some levels transform into flooded versions of their standard layout. Others add ice, flip the world upside-down, or change into a vertical climb to the finish.
Besides this, the variety of levels is already huge, with chase sequences and non-linear challenges thrown into the mix. Honestly, Yooka-Laylee ATIL gives the impression that the developers just thought “let’s just chuck everything we can think of in here” but, importantly, they spent time making sure it all worked really well together.
If you’re looking for just 2D platform level after 2D level, you might find the hub world an unwanted diversion, but I welcomed it wholeheartedly. I sometimes found myself having spent a whole half hour after starting the game, still wandering around the hub world without playing a single 2D level. It’s that enticing.
Gimmick success rating: 5/5
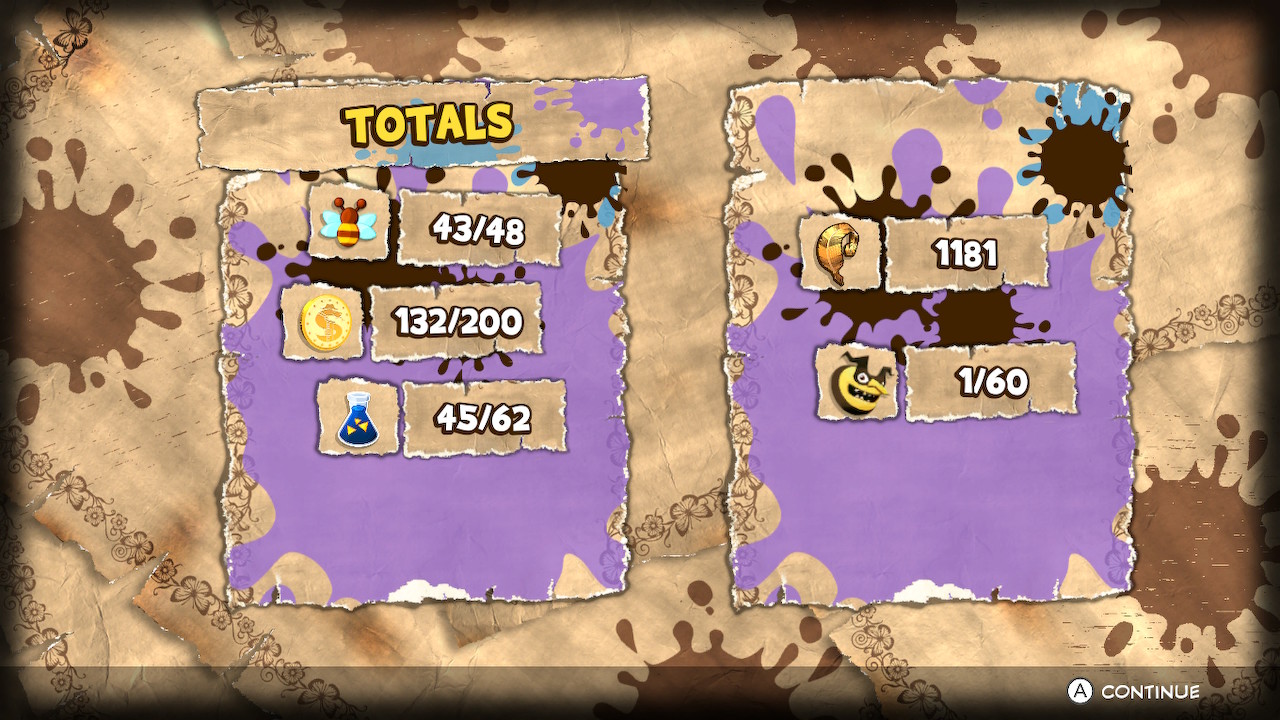
Un-bee-lievable
So, once you’ve conquered as many of the game’s 20 levels as you can, and gathered as many of the 48 bees as possible, it’s time to return to that Lair. This is the point at which the game becomes something utterly different from everything that’s gone before. The experience is about one part mesmerising to two parts soul-destroying.
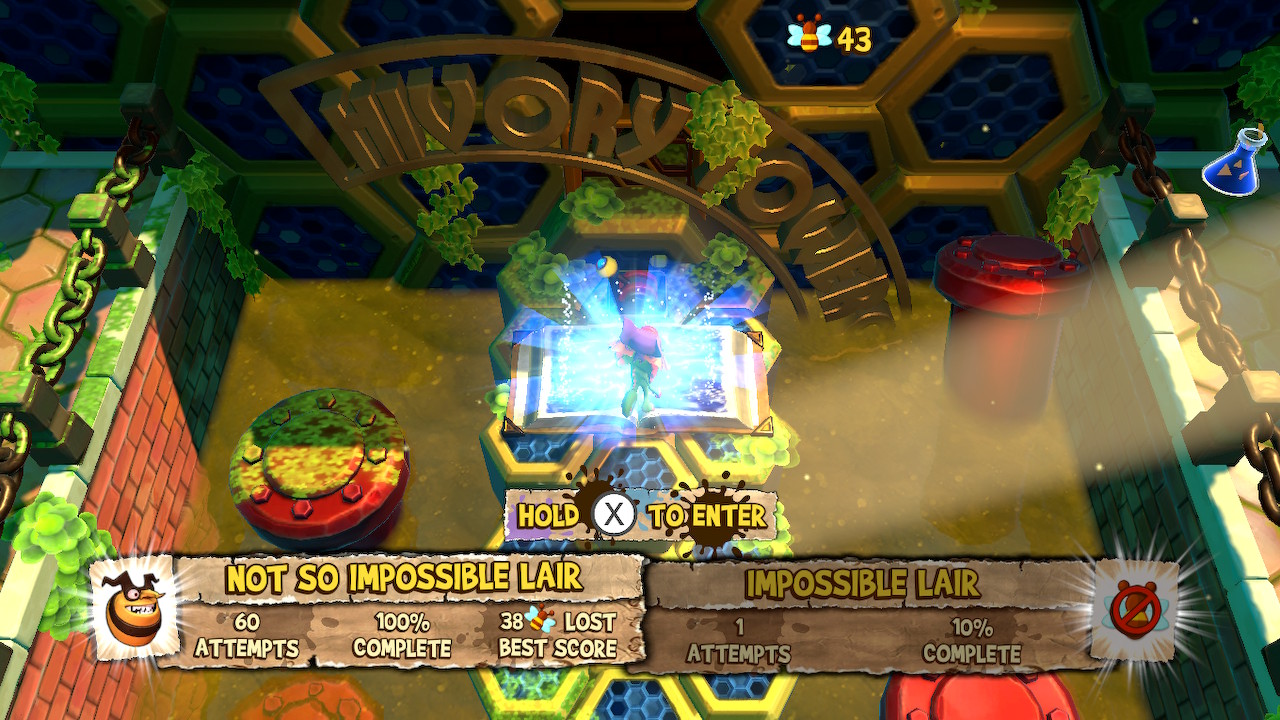
See, the Impossible Lair really is much, much harder than the rest of the game, even though the later standard levels get a bit trickier. The Lair is long; even the fastest speedrunners take over 10 minutes to conquer its 5 parts, and typical players will take, realisitcally, about twice as long to see it through from start to end.
But that will only be after many, many failed attempts. I took 60. I’ve seen others take quite a few more. Now, granted, I spent a lot of time trying to play the checkpoint system; mercifully, there still is one, although this mammoth level only has four of them in total, and they don’t restore lost bees. These checkpoints are essentially indefinite, recording your best attempt so you can pick it up from a later stage at any point.
All this means the final level will test you in ways unlike anything else in the game. It’s a shame the previous levels don’t really prepare you for it, and the challenge ramps up like a rollercoaster. I did, however, find myself persevering to finish it, unlike that final boss in Metroid Dread, so I guess there must’ve been enough to keep me engaged.
Gimmick success rating: 3/5
Don’t worry, bee happy
The Impossible Lair isn’t the only flaw here, unfortunately, but the game builds up enough goodwill elsewhere to sustain a found downsides. Loading screens, especially from cold, are excruciatingly long. The game has a few bugs relating to collision detection and, on one occasion, it soft-locked me during a boss battle when Capital B just straight up fled the scene, leaving me alone in a locked room. The in-level graphics are gorgeous, but some of the hub-world characters (especially the Pagies and the trolleys) felt a bit out of place.
But these don’t really detract too much from the overall experience, and you shouldn’t let them put you off. Yooka-Laylee ATIL is a rip-roaring adventure with too many ideas in the main game for you to ever get bored. The main platforming fare is 2D fun at its finest, really up there with the best. The level design is top-notch, and the amount of secrets, diversions, and extras will keep you entertained, at least until that final level of torture.
And, to be fair, you can’t really say that title didn’t warn you…
Verdict
😅
Yooka-Laylee ATIL is a very solid platformer at its core, with an enormous amount of extras layered around it. Those additions lend the game a wonderful flexibility and create a huge variety of gameplay. Not every gimmick hits home perfectly, particularly the primary selling point, the Impossible Lair. But as an overall package, Yooka-Laylee ATIL is a quality platformer, right up there with some of those it imitates. Even Nintendo could learn from the best-in-class hub.
It’s a shame about the difficulty level. The step up in challenge at the conclusion feels out-of-place. If you’re a highly-skilled player, or have the patience of a saint, it’s unlikely to be a serious problem. But don’t get lulled into a false sense of security; this is one bee with a serious sting in its tail!
I played Yooka-Laylee and the Impossible Lair on Nintendo Switch for just under 23 hours. A decent chunk of this time was spent backtracking and in the Lair, but the game has so much to occupy you with, especially if you go all-in on the 100% challenge, that it’s easy to soak up time in its world.
I paid £6.24 for the game on sale; standard price is £24.99. At half the retail price of New Super Mario Bros. U Deluxe, it’s excellent value.